Our end-to-end fixes for charging issues with your AirPods and charging case.
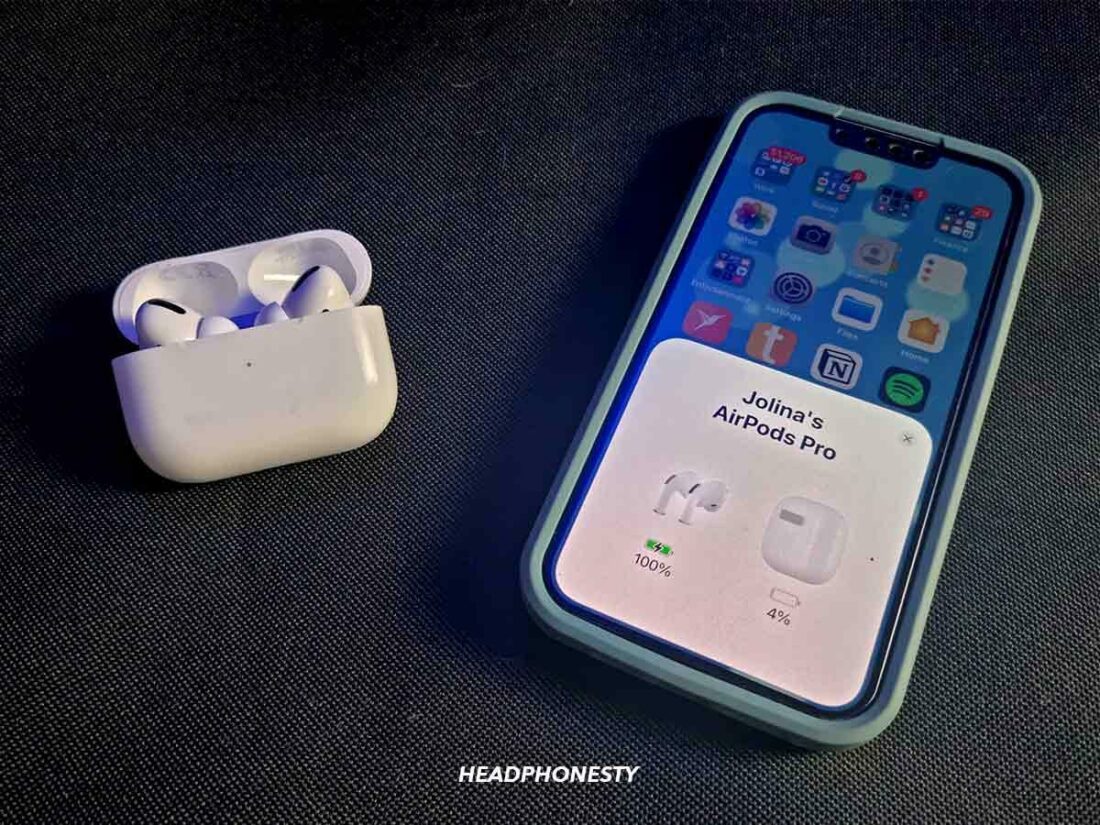
When it comes to on-the-go earbuds, AirPods have plenty to offer, with up to 5 hours of listening time on a single charge and another 24 hours of battery life in the charging case.
However, that all means nothing if the AirPods won’t charge. And unfortunately, this charging issue is one of the most highly reported problems by AirPods users worldwide.
Luckily, there are simple fixes you can try, like cleaning the charging pins and resetting the AirPods. Read on as we cover everything you can do when it comes to your AirPods or charging case not charging.
Remove and Reinsert Your AirPods
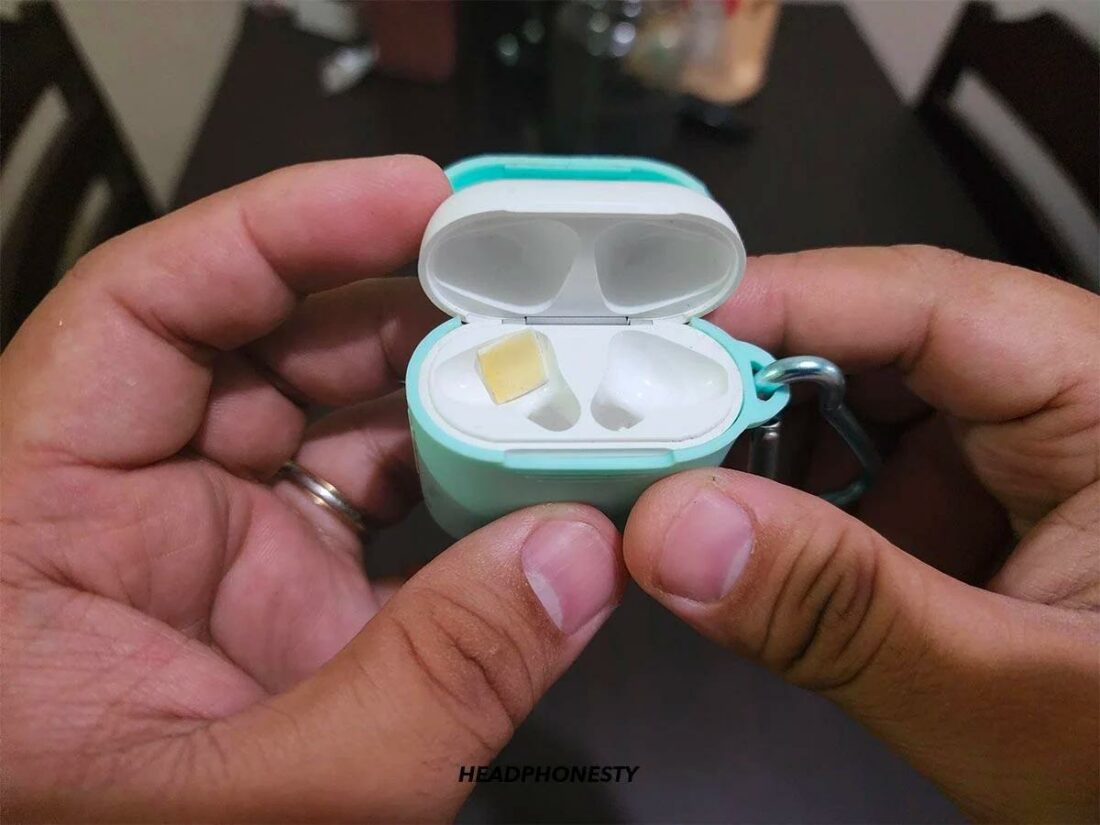
Sometimes, the simplest solution can be the most effective. Your AirPods’ inability to charge may be caused by a misalignment of the charging connectors. This happens when the metal connectors at the tail of your AirPods are tilted away from the pins inside the charging case.
Without proper contact between the connectors and the pins, your AirPods won’t be able to receive power from the charging case. To ensure proper alignment, try adjusting their positions inside the case. Here’s how to do it:
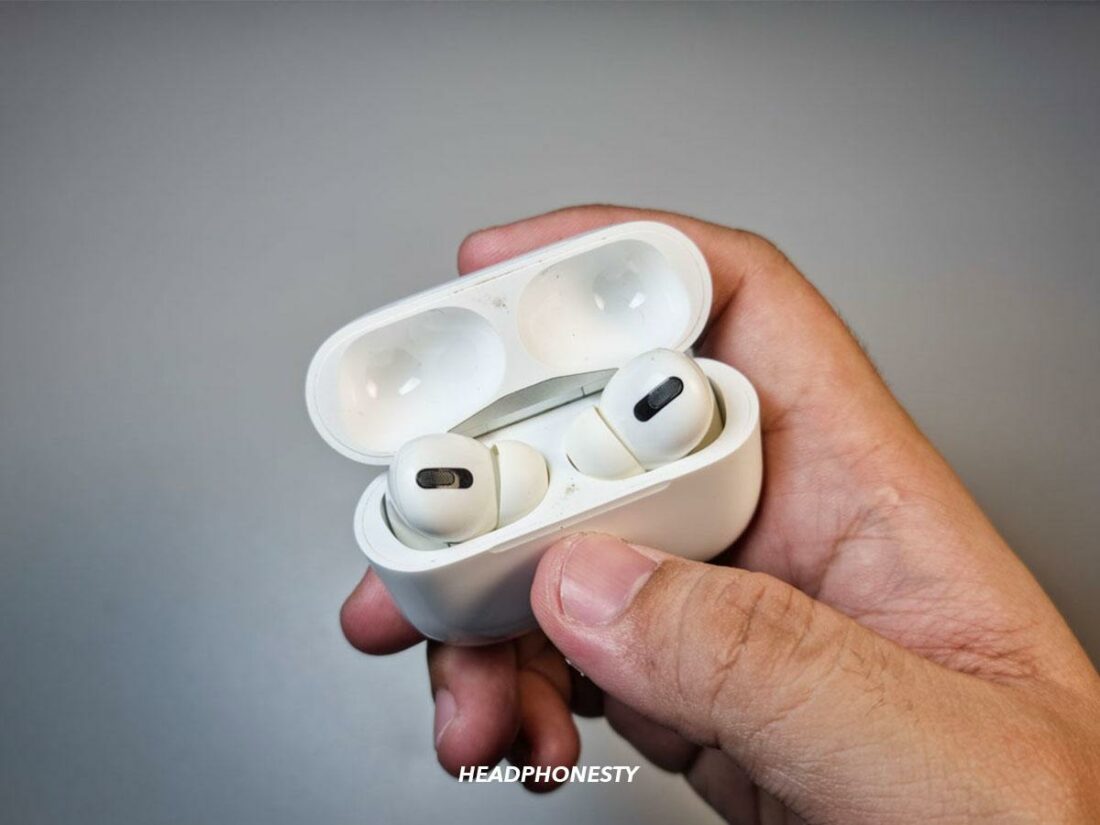
- Open the lid of your AirPods case.

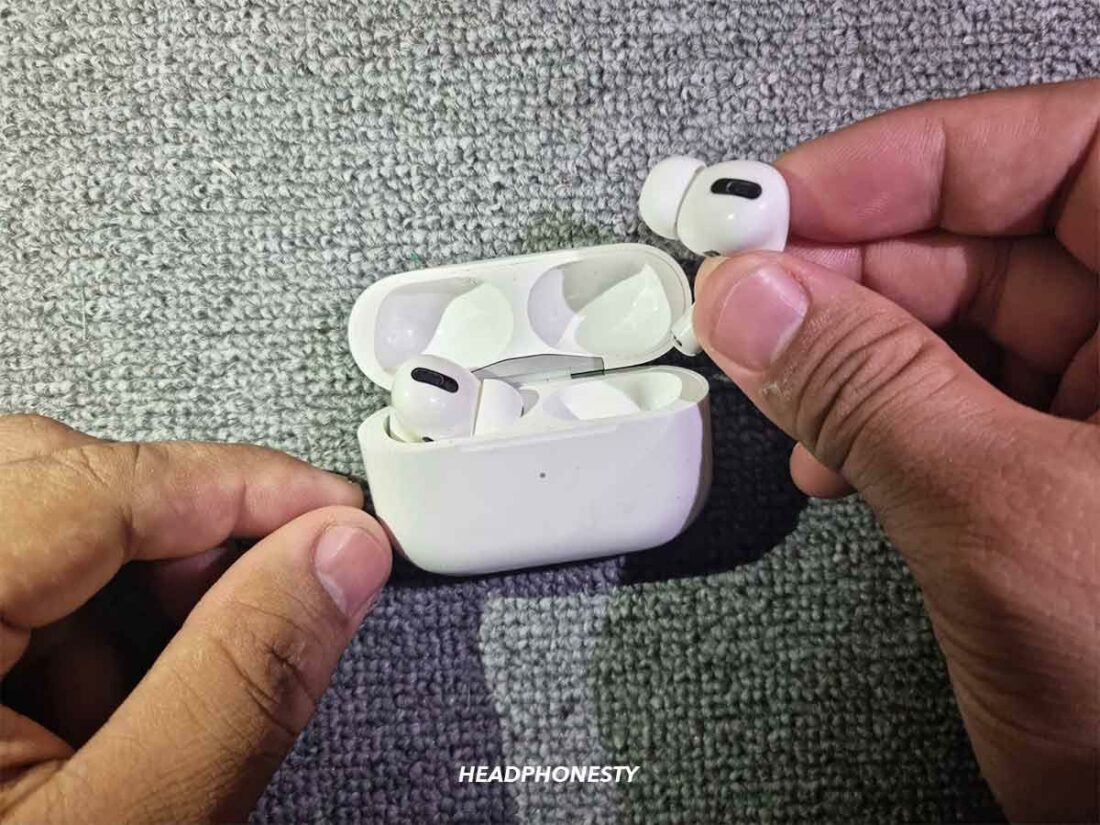
Open AirPods case. - Carefully remove both AirPods from the case. Then, reinsert each AirPod back into its respective slot in the case. Ensure they’re properly aligned with the charging connectors at the bottom of each slot.
Carefully reinsert the AirPods in the case. - Close the lid, then reopen it after a few seconds.
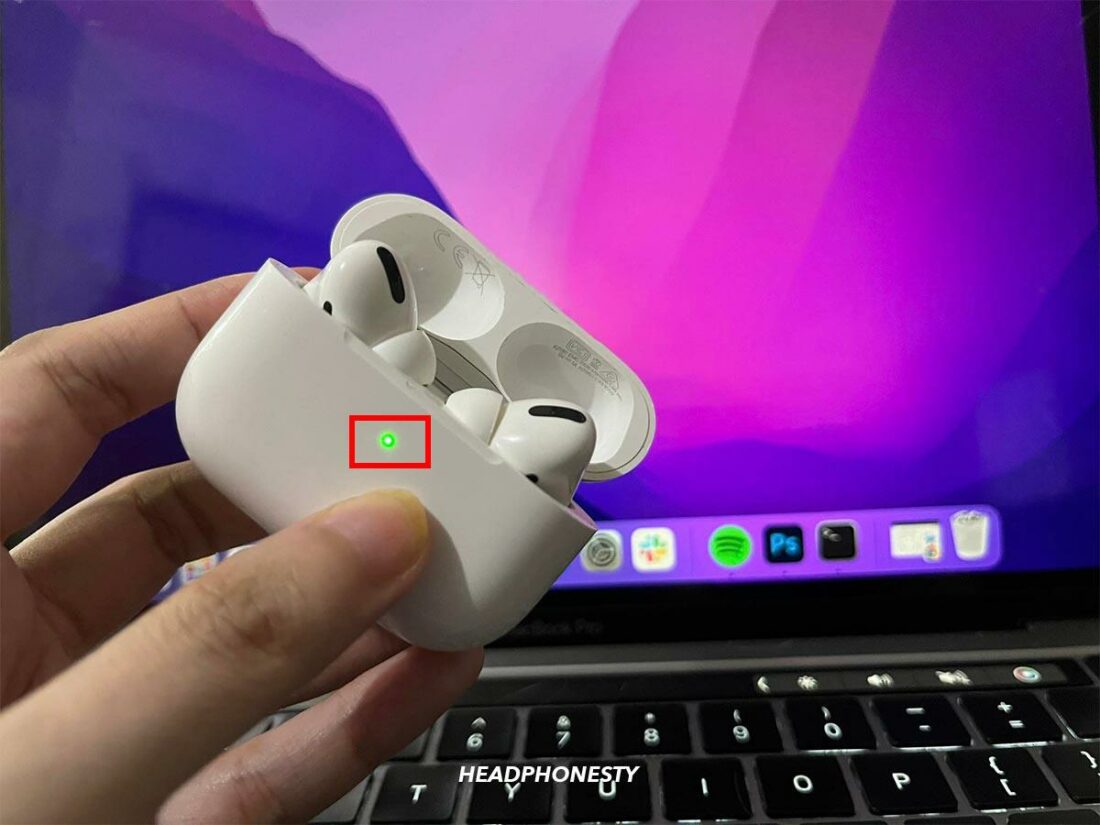
Close the lid. - Check the charging status light on your AirPods case. If it’s showing a steady green light, your AirPods are charging. If not, proceed to the next troubleshooting step.
Green status light on AirPods case.

If this won’t work, you can try placing a mounting tape on the curved section of the charging case to prevent your AirPods from moving around while the case is closed.
Charge Your AirPods and Case at the Same Time
If your AirPods and case are both out of battery, charging them together can help resolve the issue. This is because you need to have at least 25% battery on the charging case to fully charge your AirPods. Any lower than that and your AirPods won’t charge properly.
Here’s how you can do this:
- Insert your AirPods into the case.
Inserting AirPods in the case. - Close the lid of the case.
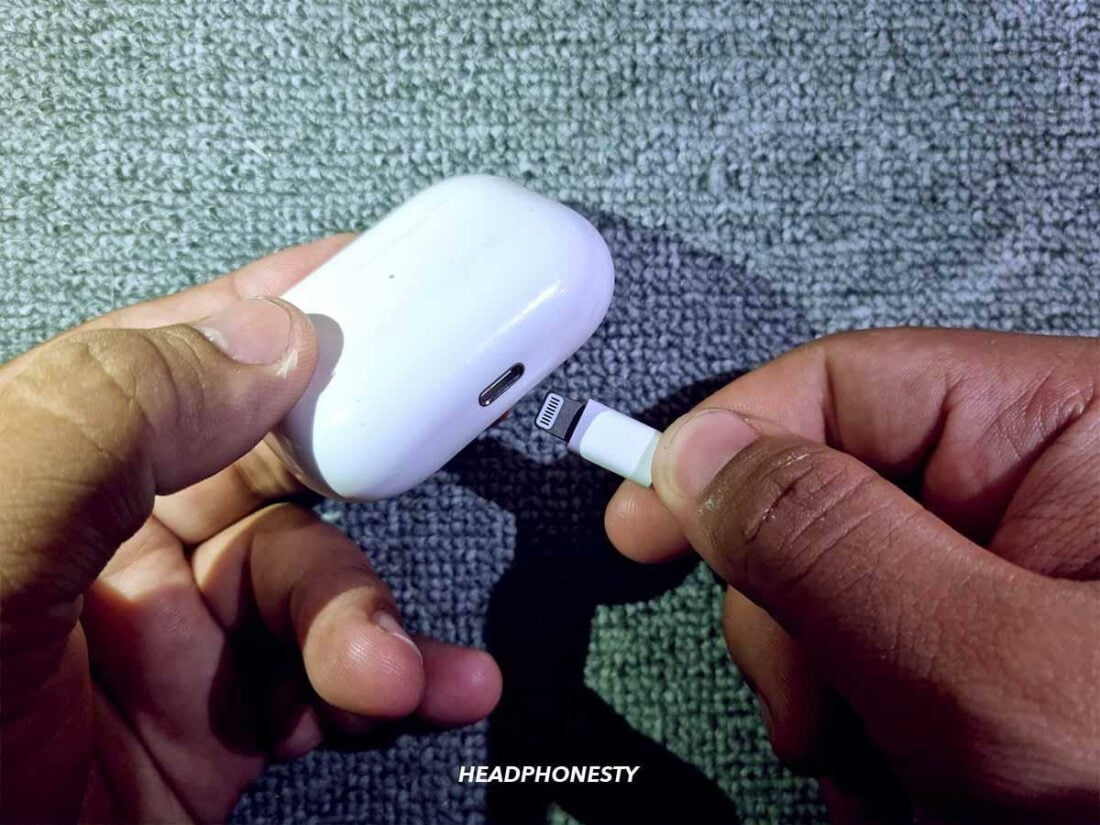
Closed charging case lid. - Connect the lightning cable to the charging port on the case.
Connecting the lightning cable. - Plug the other end of the cable into an adapter and wall outlet.
Plugged AirPods charger. - Leave your AirPods and the case to charge for at least 15 minutes before checking the charging status.


If your AirPods and the case are charging correctly, the status light should show a steady green light.
Clean the Charging Connectors
The charging connectors are the tiny metal parts located inside the AirPods case and your AirPods’ tail. They act as conductive points that pass electricity from the case to your AirPods.
Unfortunately, dirt or debris on the charging connectors can interfere with the flow of electricity. This is the same with the charging port on your AirPods case. That’s why, cleaning them may resolve the issue of your AirPods not charging.
Here are the materials you’ll need to fix this:
- Cotton swabs
- Dry lint-free cloth
- Soft toothbrush
- Isopropyl alcohol (preferably 70% alcohol)
Once you have everything ready, here’s how to clean your AirPods and the charging case:
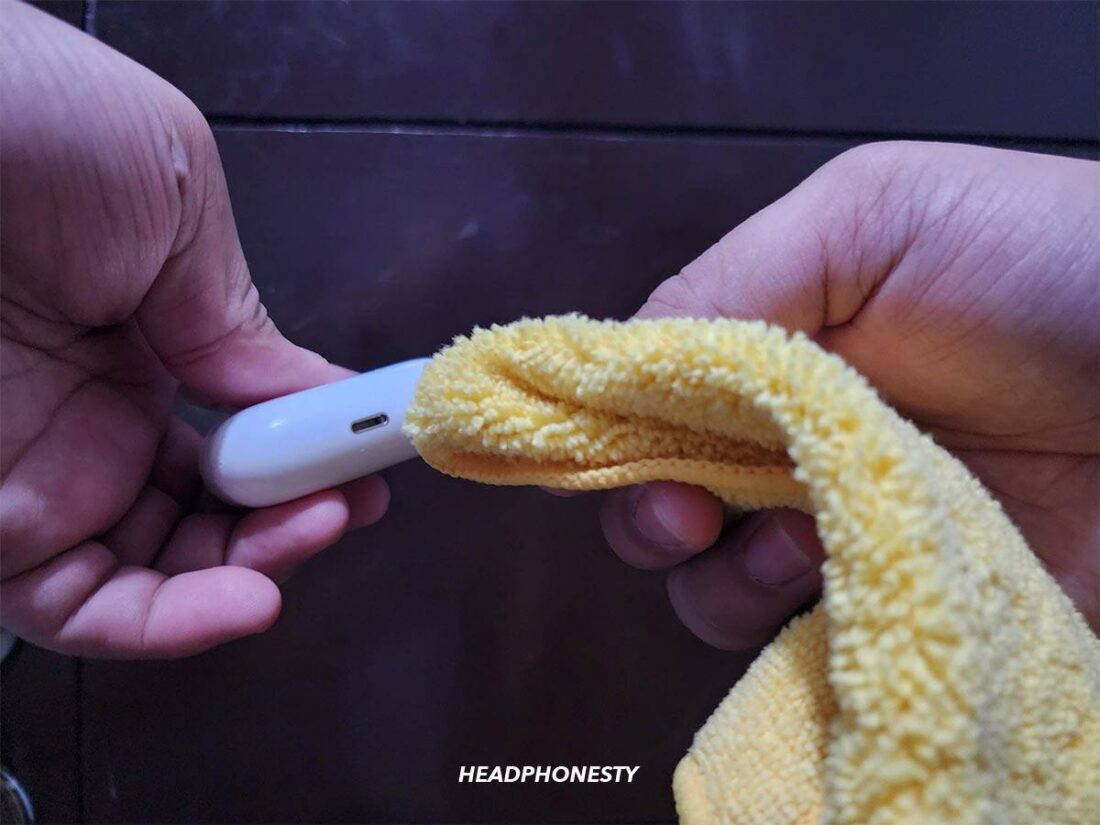
- Wipe your AirPods and the case with a clean, lint-free cloth. You can lightly dampen the cloth with isopropyl alcohol for better results.
A clean, lint-free cloth with alcohol. - Dip the cotton swabs in the isopropyl alcohol and use them to clean the connectors in the AirPods’ tail and the charging pins inside the case.
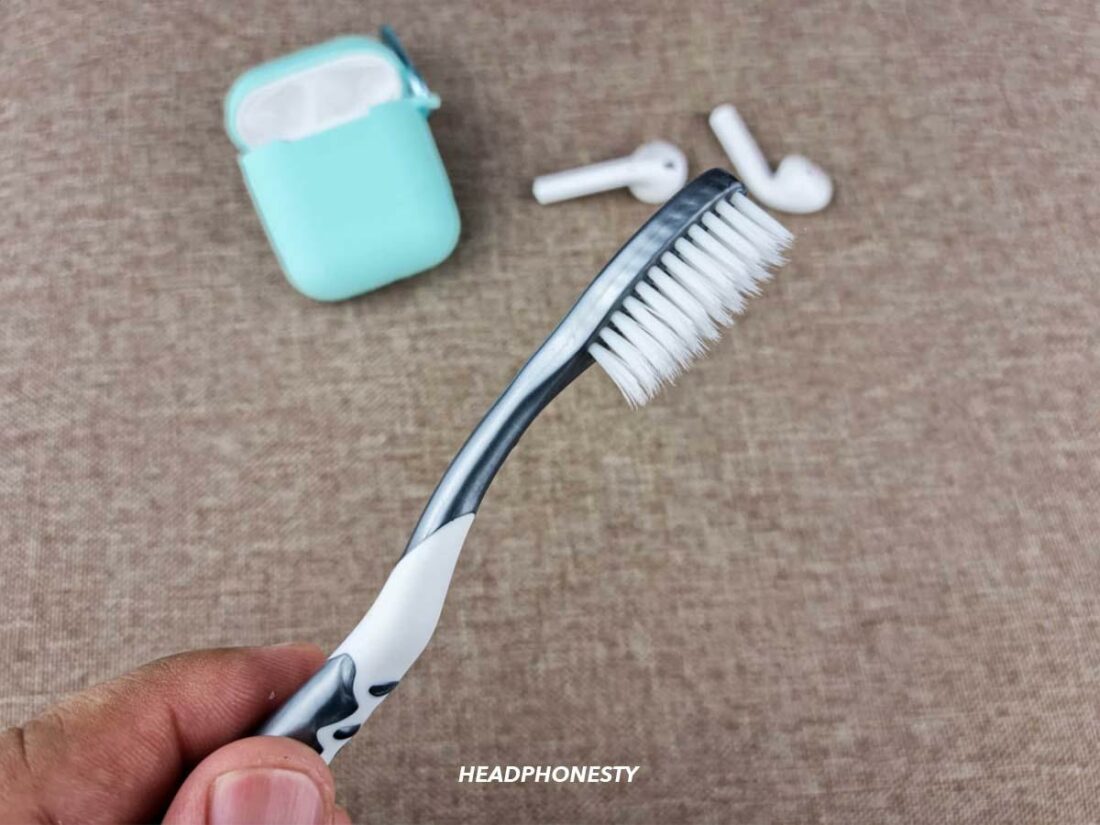
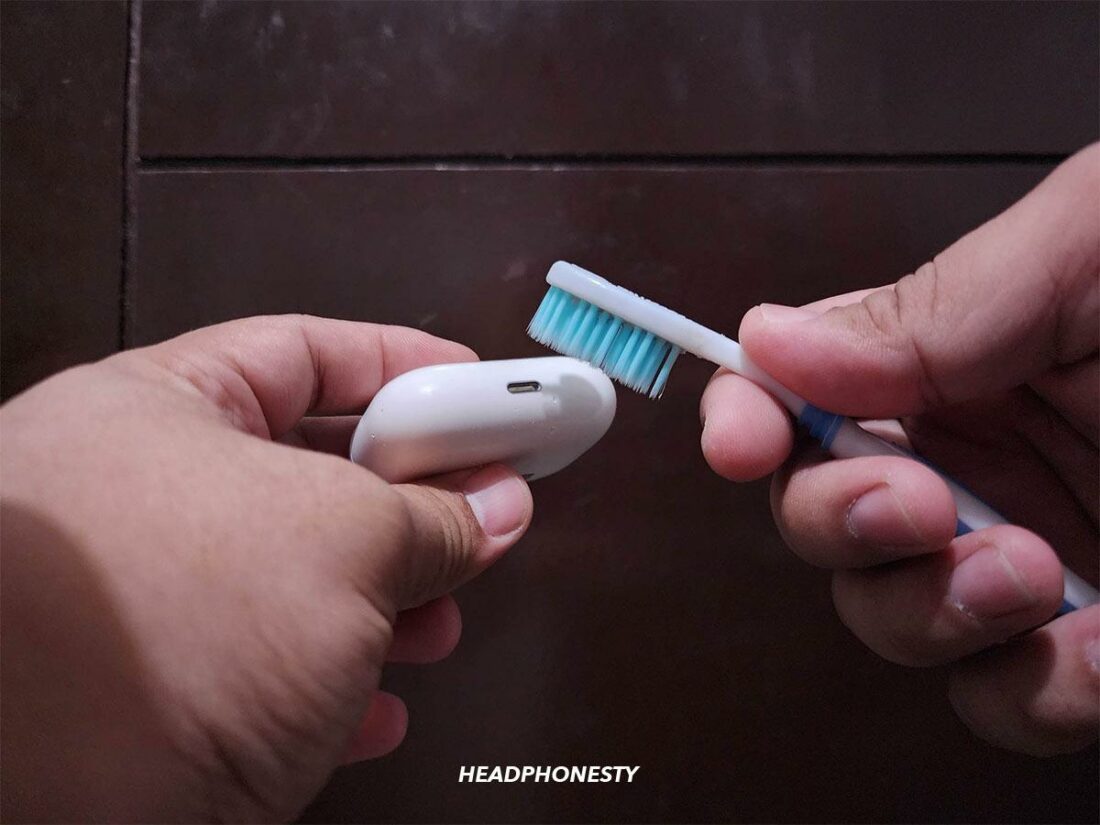
Using cotton swabs to clean the AirPods case. - Use a soft toothbrush to gently brush away any stubborn dirt or debris. For hard-to-reach areas, you can try an interdental brush.
Using a soft toothbrush to clean AirPods. - Use a soft, dry, lint-free cloth to gently wipe the area to make sure all dislodged debris are cleared out. Then, also use the same cloth to wipe the case’s charging port. You can also wipe the lightning cable and plug to be sure.
Wiping the charging port. - For stubborn dirt, use a dry, soft-bristled brush to carefully clean the port. Avoid using any sharp objects or abrasive materials, as these can damage the port.
Brushing the AirPods case charging port. - Once clean, plug in your Lightning charger to see if the case charges.
Plug in your Lightning charger.


For more details, check out the comprehensive guide on how to clean your AirPods or AirPods Pro.
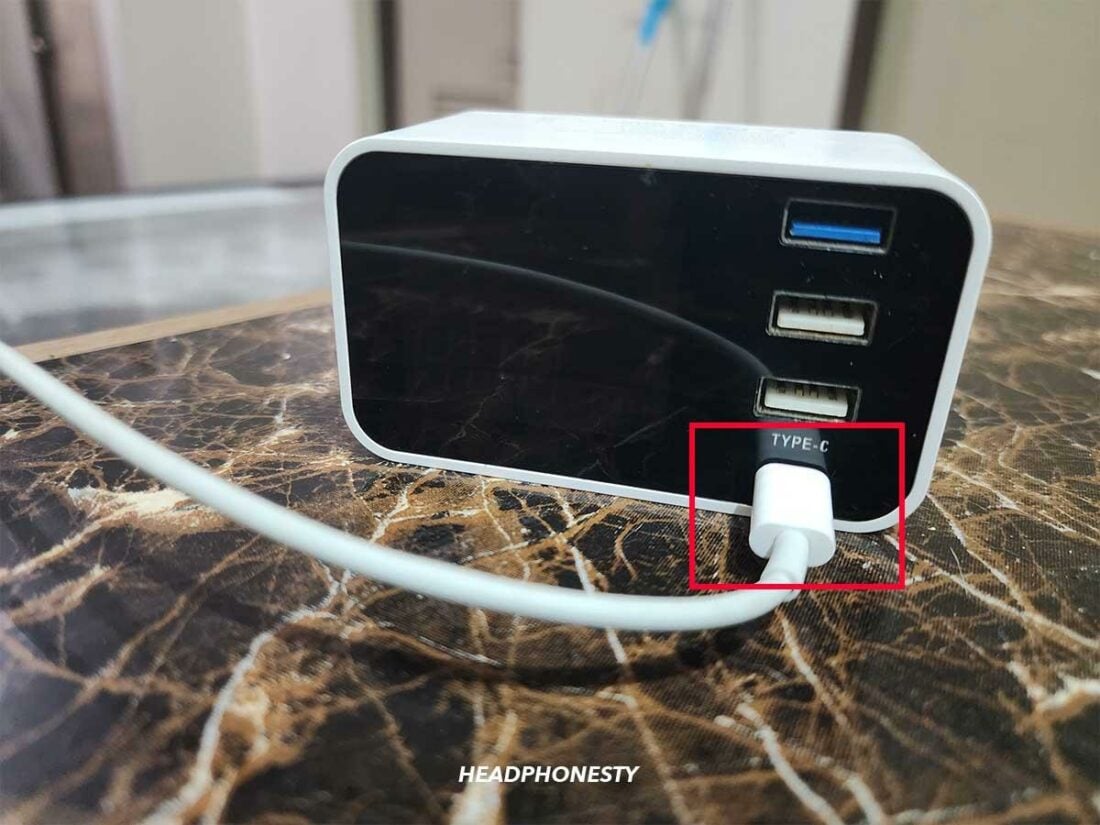
Try a Different Charger and Outlet
If you still have charging problems after cleaning your AirPods charging case, the next most likely cause is with your charger, Lightning cable, or power outlet.
There are many possible causes for this, such as power surges, faulty wall charger, or broken wiring in the Lightning cable. To narrow down which one of them causes your charging issue, try swapping out one at a time.
You can start by trying a different power outlet to charge your AirPods case. If that doesn’t work, try with a different set of wall charger and lightning cable.
Reset Your AirPods
Resetting your AirPods allows them to start fresh. This restores the AirPods to their original settings, eliminating any temporary software glitches that might be preventing them from charging properly.
Here’s how you can reset your AirPods:
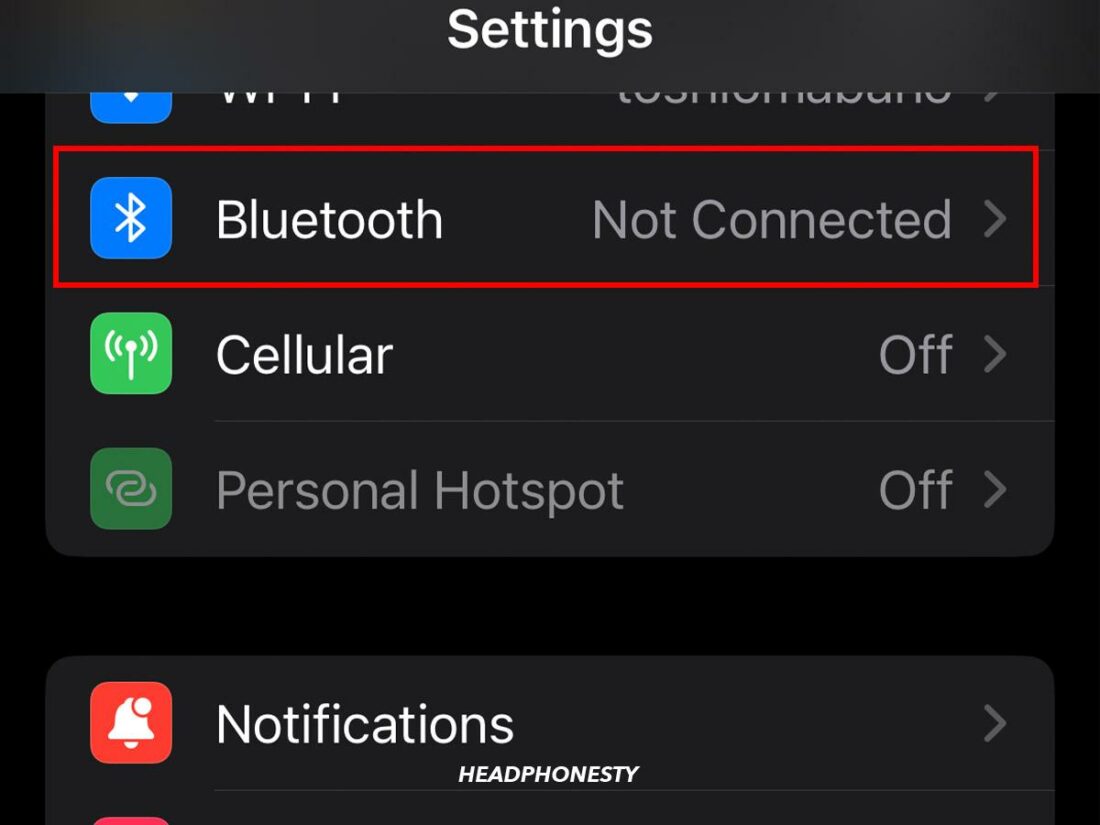
- On your iOS device, go to Settings > Bluetooth.
Go to Bluetooth. - Tap the “i” icon next to your AirPods, then tap “Forget This Device“.
Tap “Forget This Device”. - Place your AirPods in their case and close the lid.
Closed charging case. - Wait for about 30 seconds, then open the lid.
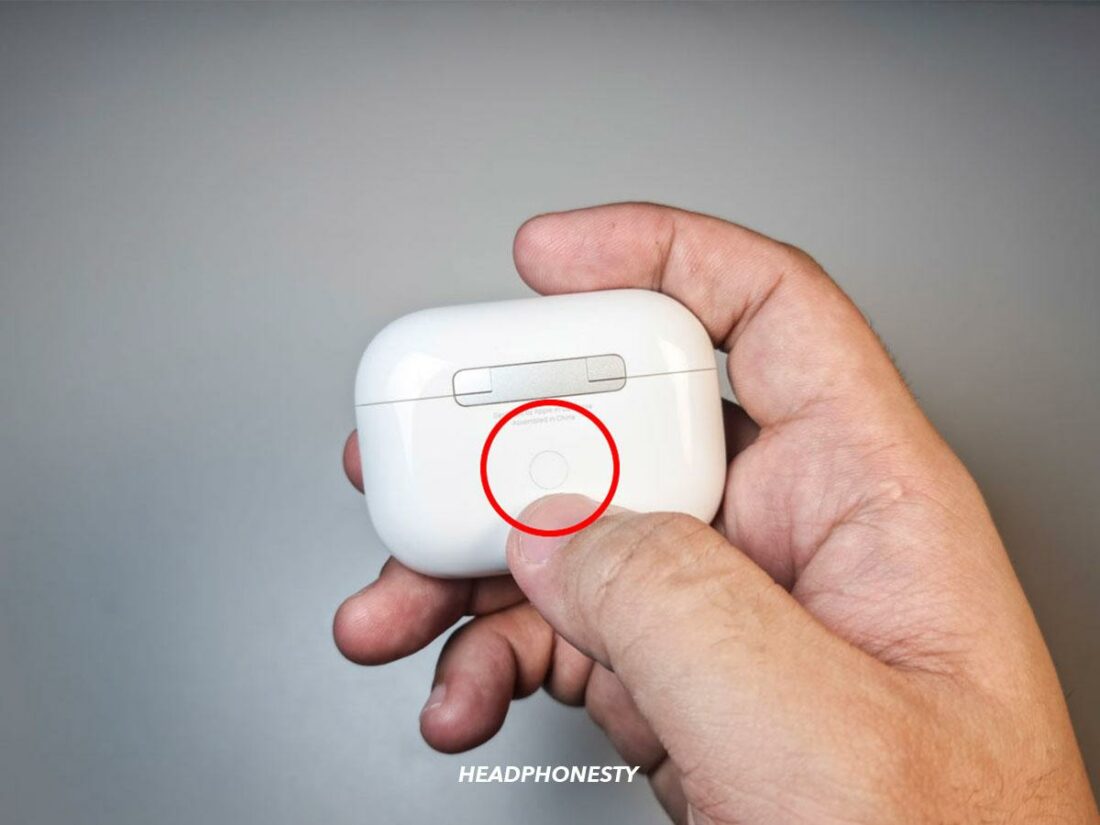
Open the lid of the charging case. - For about 15 seconds, press and hold the setup button on the AirPods case until the status light flashes amber.
The setup button at the back of the AirPods case. - Reconnect your AirPods to your device.
Reconnect your AirPods.


If All Else Fails, Contact Apple Support
If you’ve tried all the troubleshooting steps and your AirPods or case still won’t charge, it’s time to call in the experts.
Apple Support has a team of geniuses who can help diagnose and fix your issue. The good news is there are three possible routes for you, depending on your situation:
- If your AirPods are still under the one-year Apple Limited Warranty, you may be offered three different solutions: free repair, replacement, or refund. However, this is strictly for manufacturing defects (not user errors).
- If you have AppleCare+ Warranty, which costs $29, you’ll get a two-year warranty for your AirPods. This covers a free replacement for any battery issues within the given time frame.
- If your AirPods are out of warranty, the Battery Service repair cost is estimated at $49 on Apple’s website. You can also opt for AirPods replacement, but you’ll have to pay $29 – $89 depending on the model you have.
Yet, the exact terms and conditions may vary, so it’s best to discuss this directly with Apple Support or an Apple Genius at an Apple Store.
Here’s how to contact Apple Support:
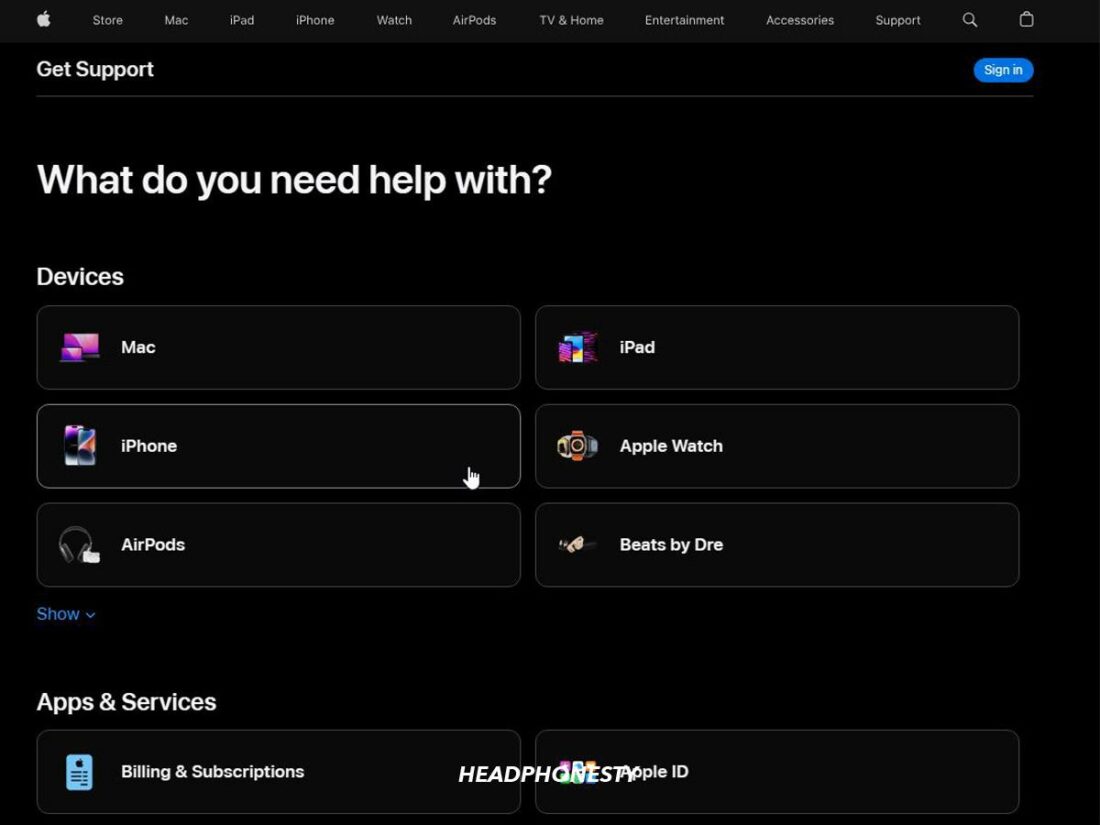
- Visit the Apple Support website.
Apple Support website. - Under Devices, click on AirPods.
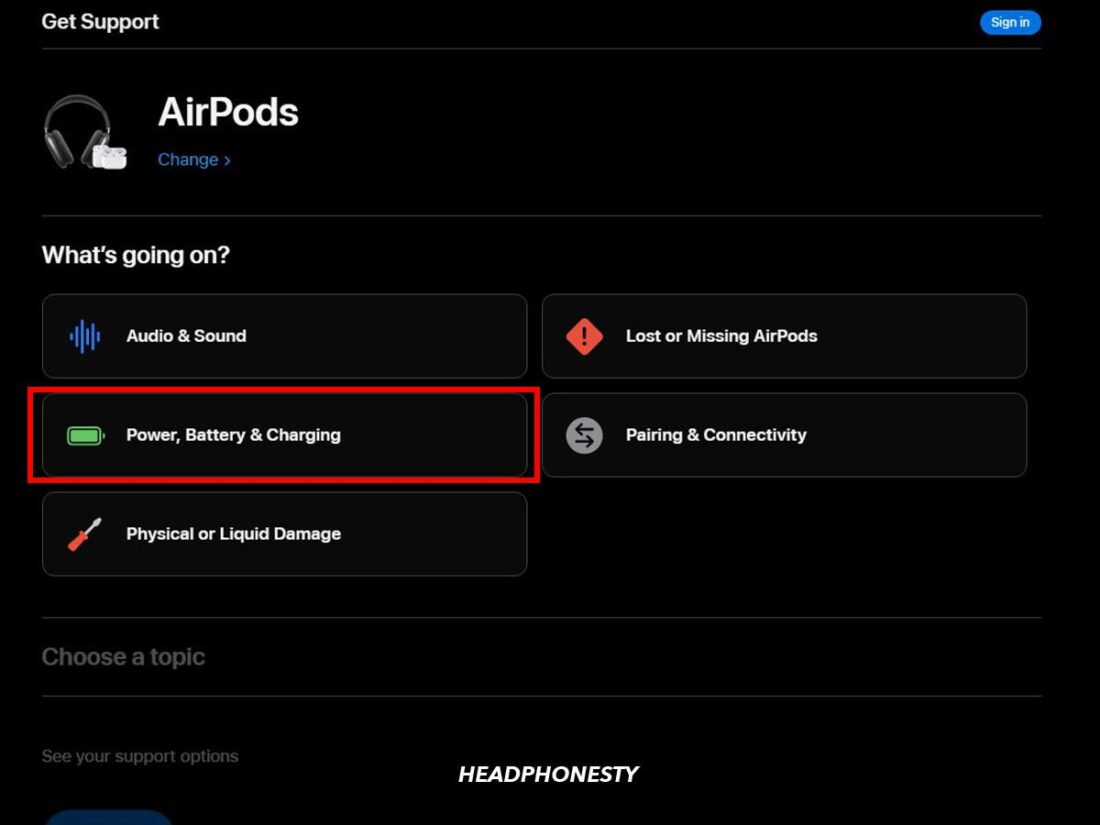
List of devices. - Scroll down and click Power, Battery & Charging > Continue.
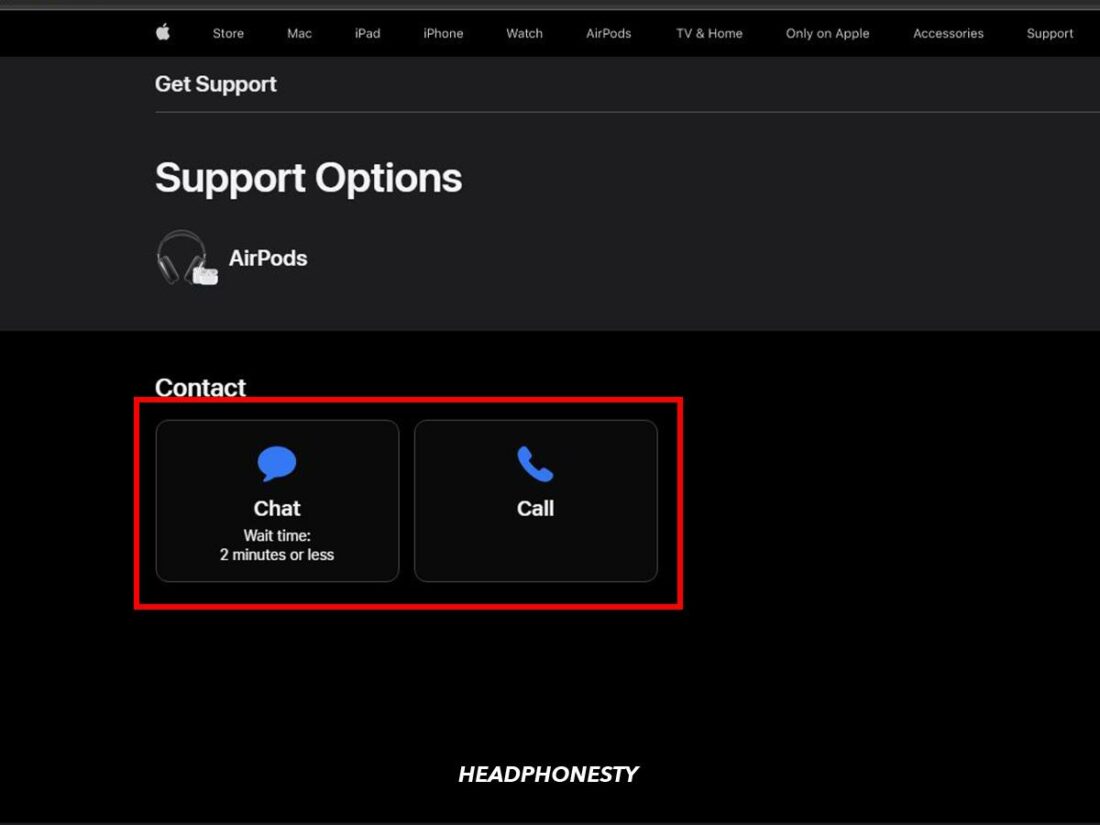
Power, Battery & Charging option. - Choose Chat or Call to talk to an Apple Genius.
Contact options for Apple Support.

If you’re near an Apple Store, you can also make a direct visit or schedule an appointment with an Apple Genius.
Remember, it’s always better to seek professional help when dealing with electronic devices. DIY solutions can sometimes cause more harm than good, especially if you’re not familiar with the device’s inner workings.
Conclusion
After following all the troubleshooting methods above, your AirPods and their charging case should now be working normally again. Now, you can get back to enjoying your music with them again!
Did any of the fixes worked for you? If not, how was your experience with the Apple Support for the repair or replacement? We’d love to hear your thoughts in the comments!
awesome!!! thank yoy!!!!!